
What a workflow is
A workflow has two halves:- A playbook defines the work: the queries, the layout, the instructions, and the artifacts it produces.
- A workflow defines when and where it goes: the trigger, the steps, and the delivery.
Start it from what you already made
The shortest path is from the artifact itself. Open the report, deck, or playbook you reviewed and choose Create workflow, on the artifact’s own toolbar or on the right-click menu in a project’s file list. The alternative, for anything not yet built: Workflows in the left sidebar, then New workflow → Create with Addison.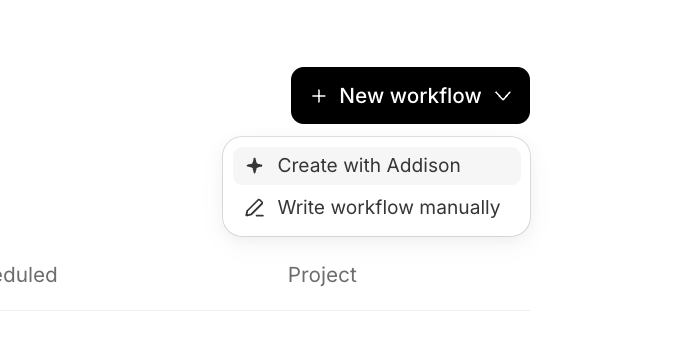
New workflow → Create with Addison or Write workflow manually
What workflow do you want to create?Describe the outcome, not the mechanism: “email the weekly revenue report every Monday at 9am.” Addison builds the workflow and its playbook, then confirms the parts it won’t assume on your behalf.
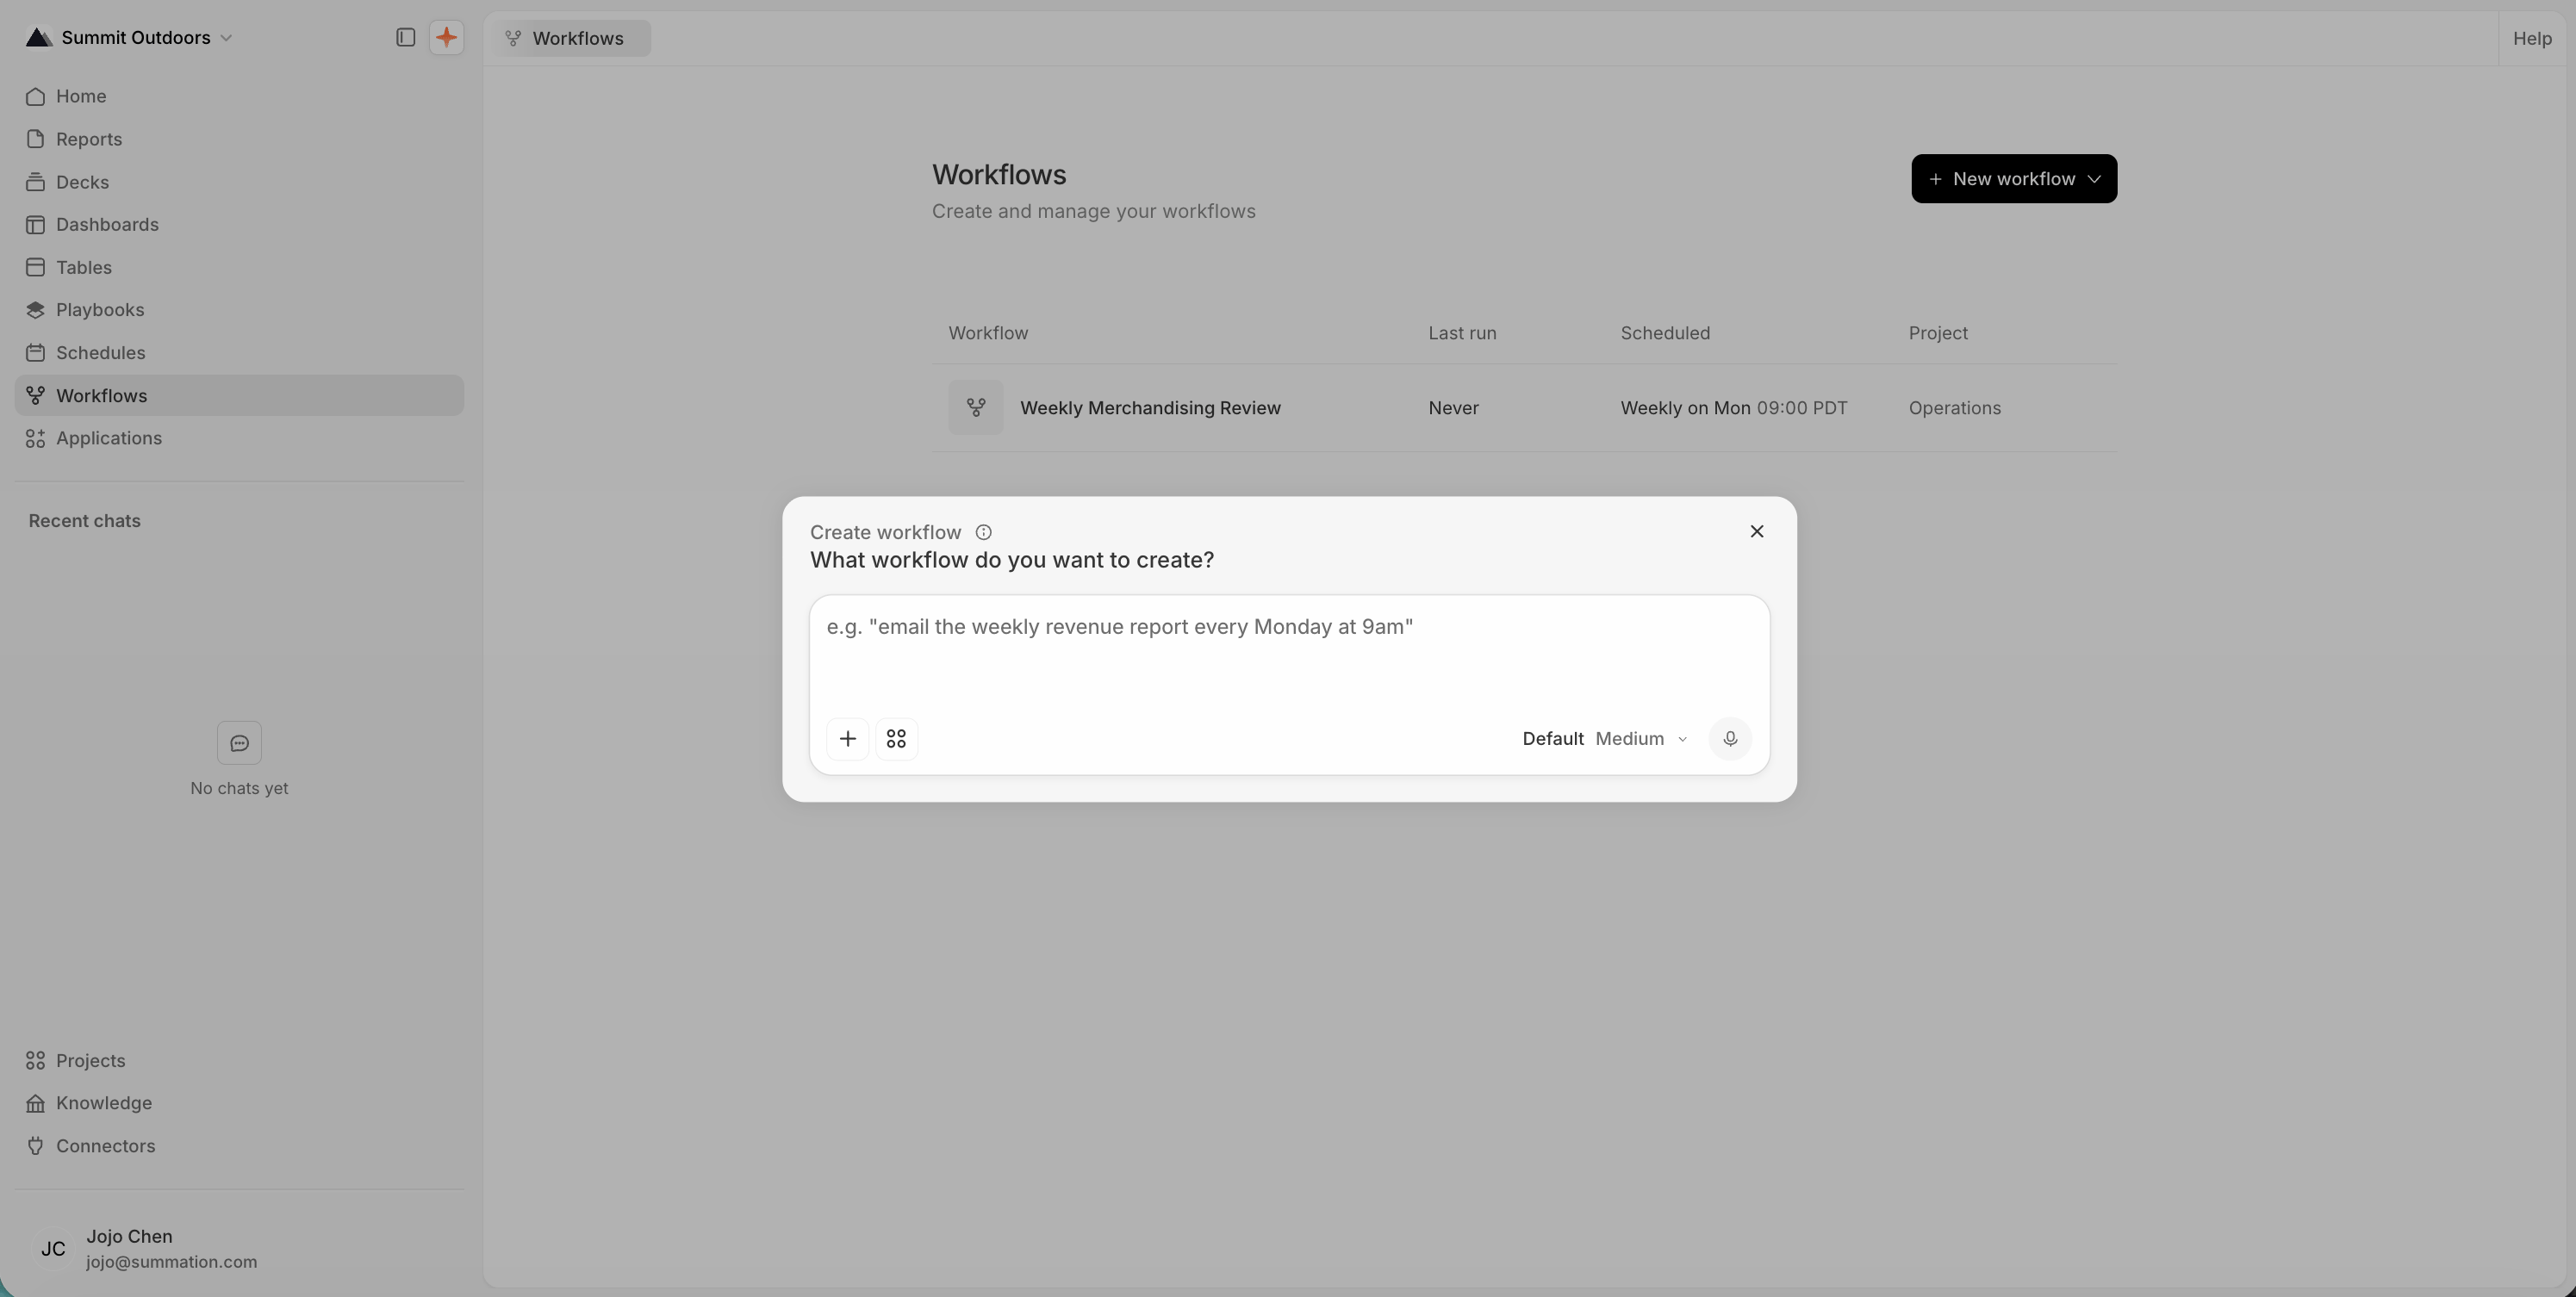
Describe the workflow you want and Addison builds it
Answer the questions Addison asks
Addison fills in the reversible details, like a title and an output folder, and asks about everything with consequences:- Cadence and timezone. A bare “9am” is ambiguous across a team, so Addison won’t guess the zone.
- Delivery. Email recipients, a Slack channel, or neither, in which case results land in the project.
- Activation. Whether to enable the workflow’s schedule.
Review and save
Open the workflow. The canvas shows the steps in order, and the panel beside it carries Status, Project, Next run, and the Runs list. A first workflow is three nodes in a line: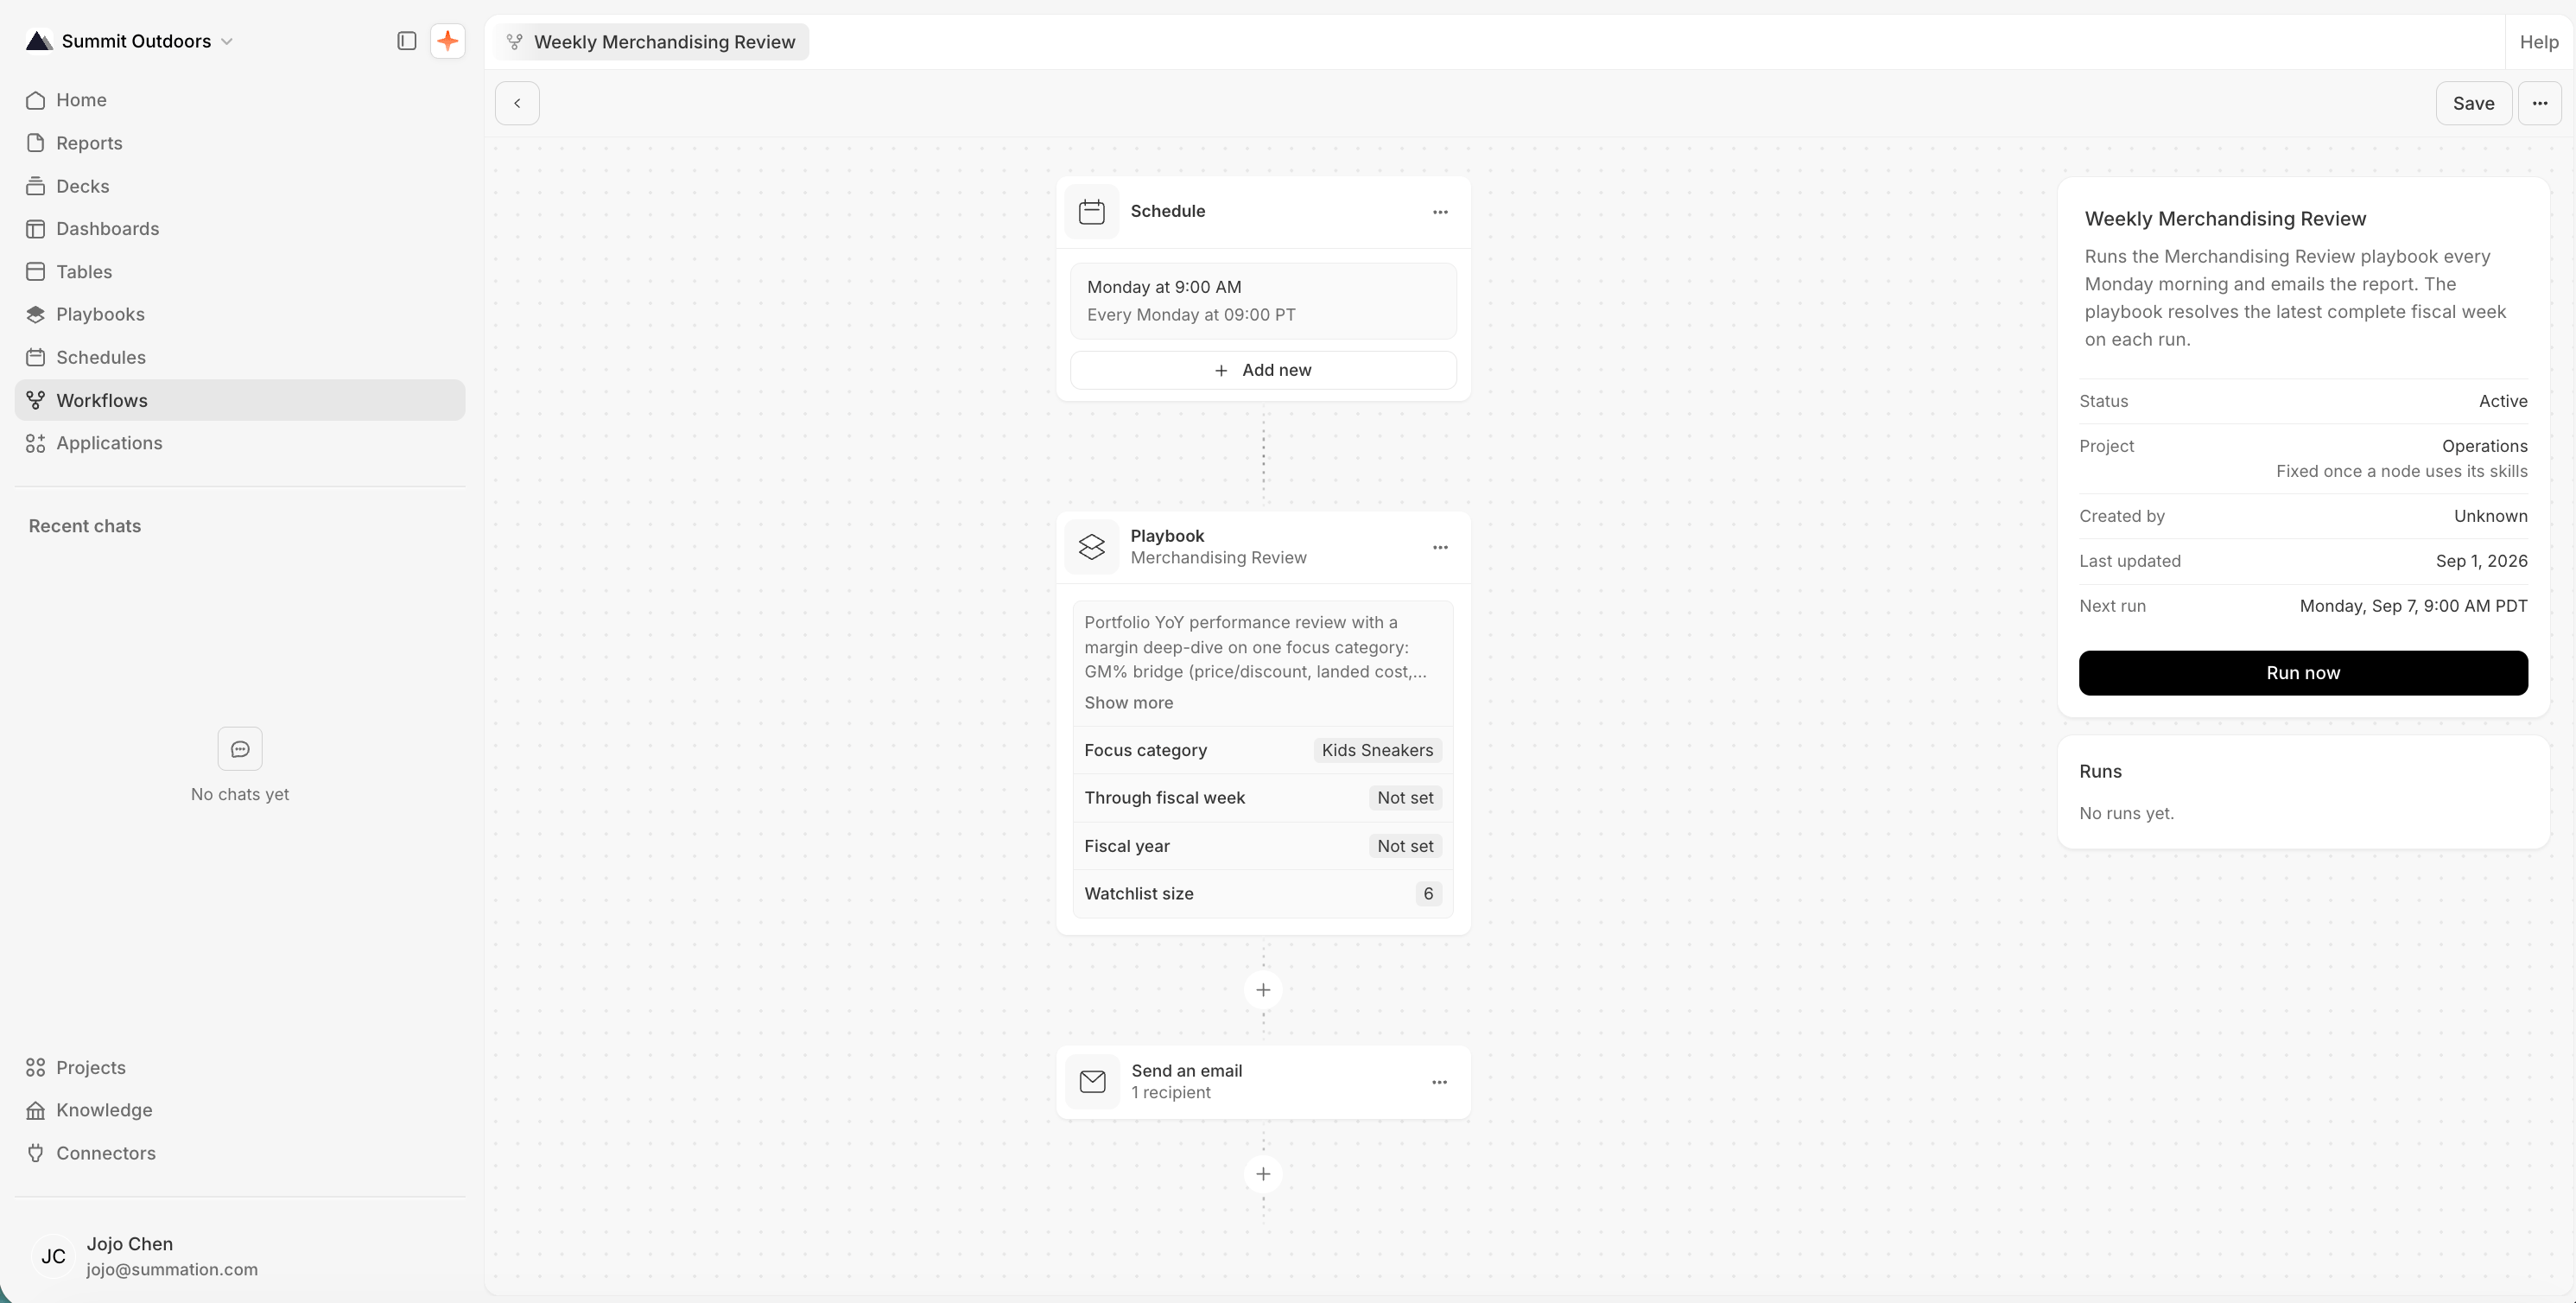
A workflow's graph: a Schedule trigger, a Playbook, and an email delivery node
1
Save and check the schedule
Saving a complete draft marks it Active; it does not run it immediately. With an enabled schedule, the workflow runs at the configured times. Check Next run to confirm when to expect it.
2
Choose the first run
Wait for the scheduled run, or choose Run now to start one immediately. Run now saves any unsaved changes and includes delivery, so it can send email or Slack messages. It is not a dry run.
3
Check the output and delivery
Open the result from the Runs panel, trace a figure to its source, and check its verification status where available. Confirm that delivery succeeded too. A successful run means the steps completed, not that the analysis passed verification.
Saved changes apply to future runs. Saving a deactivated workflow does not reactivate it; choose Activate when you want it to resume.
Keep it correct
When an output is wrong, check its source period, business definitions, playbook instructions, and runtime parameters. Correct the relevant context or playbook and test again. If recipients or recurrence are wrong, deactivate the workflow while you repair its configuration.Where to go next
Workflows
The full node catalog, and what the editor requires before it will save.
Playbooks
The reusable half of a workflow: how the work itself is defined and edited.
Knowledge
Guides and metrics, and how Addison reads them.
Addison
What the analyst can do, and how to get more out of it.